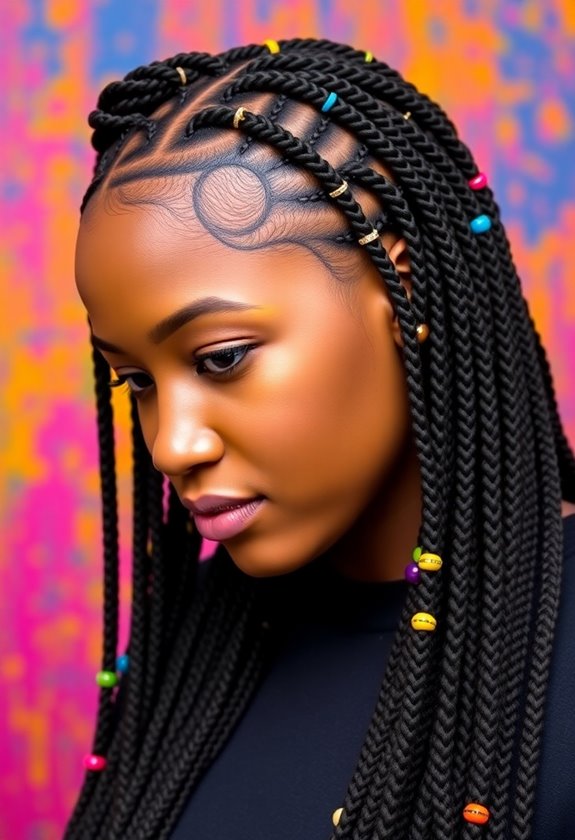
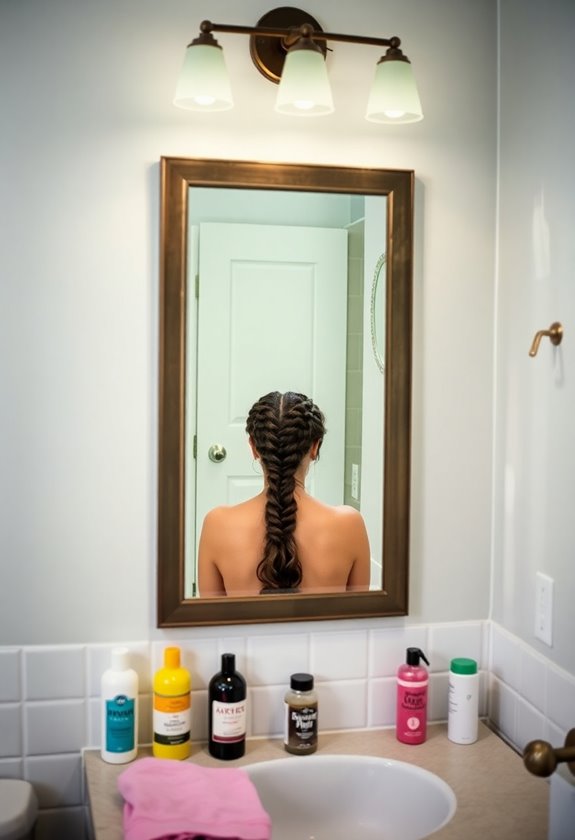
To create beautiful Dutch braids, start by gathering your supplies: a brush, hair ties, and some product to tame flyaways. Prep your hair by detangling it and applying a light leave-in conditioner. Section your hair neatly, parting it down the middle. Then, grab the top section and split it into three equal parts. Braid by crossing the outer strands under the middle one, adding hair from the sides as you go. Keep it tight and even, and you’ll get the hang of it! If you want to add a little flair, there’s so much more to explore!
Design Highlights
- Start by sectioning clean, slightly damp hair into three equal parts for a smooth braiding process.
- Cross the right strand under the middle strand, then cross the left strand under the new middle strand.
- Incorporate hair from the sides as you braid, adding it to the strands before crossing them under.
- Maintain a firm grip and keep the braid tight but comfortable, ensuring even tension throughout.
- Secure the end of the braid with a hair tie and use hairspray for added hold and to tame flyaways.
Gather Your Supplies
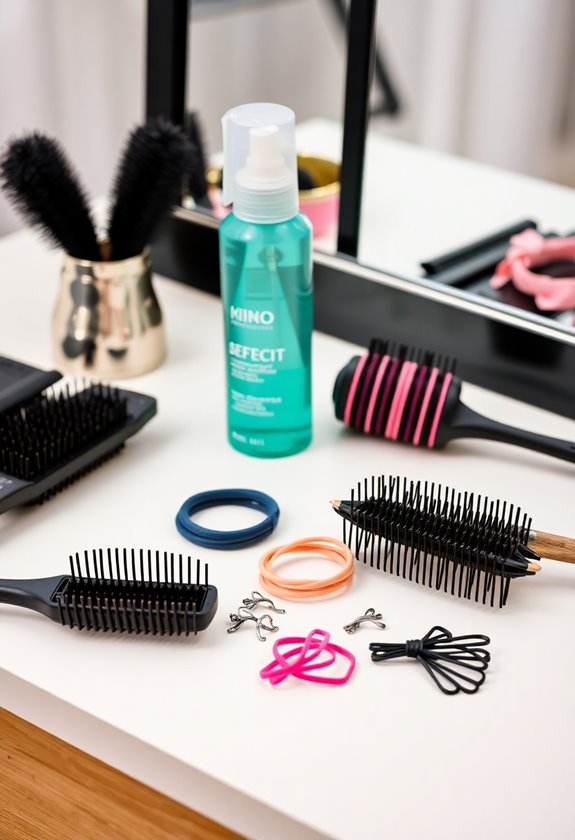
Before you plunge into creating those gorgeous Dutch braids, let’s make sure you’ve got everything you need right at your fingertips. Start by grabbing a hairbrush or comb—trust me, tangled hair won’t thank you! Next, have some hair ties ready; they’ll keep your masterpiece secure. If you’re feeling fancy, a little hair gel or spray can help tame those pesky flyaways. Don’t forget a mirror so you can admire your work! Finally, grab a friend for some moral support; braiding is way more fun with company. Remember, regular practice with quality hair ties ensures mastery of foundational styles. Now you’re all set to dive into the world of Dutch braids!
Prepare Your Hair

Getting your hair ready is key to mastering Dutch braids, and trust me, it makes all the difference! Start by gently brushing out any knots, so your hair glides smoothly as you braid. Next, if your hair’s a bit frizzy, consider using a light leave-in conditioner to keep it sleek and manageable. Finally, a little hairspray can help tame flyaways, ensuring a polished look.
- Brush out any tangles
- Apply a light leave-in conditioner
- Use hairspray for extra hold
Taking these steps not only preps your hair but also boosts your confidence as you create those fabulous Dutch braids!
Section Your Hair

Once you’ve got your hair all prepped, it’s time to section it out for those stunning Dutch braids! Start by parting your hair down the middle or whichever way you prefer. Use a comb for a clean line, and if your hair tends to slip, try using hair ties or clips to keep it in place. Don’t forget to check for tangles—brushing through can save you a lot of hassle later! Each section should be about the same size to guarantee even braiding. With everything neatly separated, you’re one step closer to those fabulous braids you’re dreaming of! Remember, braids for every black woman’s style can enhance your look and showcase your unique beauty.
Start the Braid
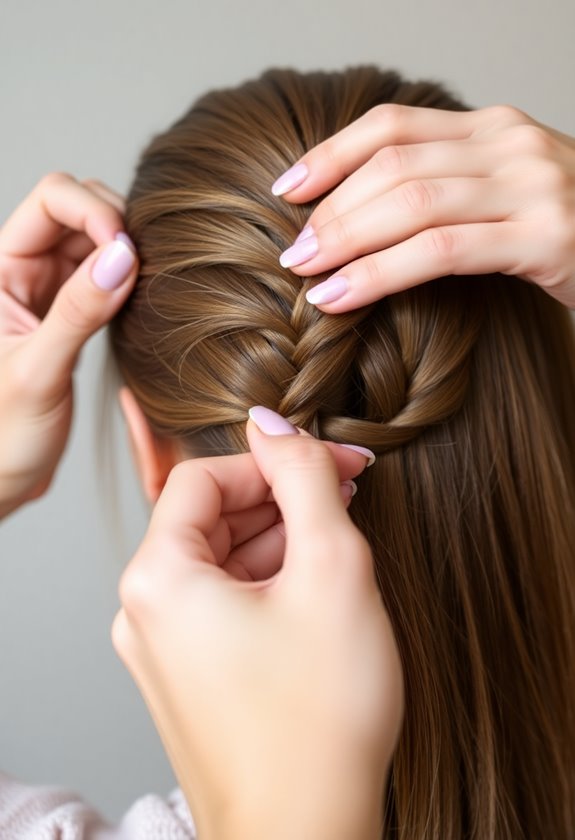
Starting the braid can feel a bit challenging, but don’t worry—you’re going to rock it! Begin by grabbing a section of hair at the top of your head. Here’s what you’ll do next:
- Split that section into three equal parts.
- Hold the right strand in your right hand, the left strand in your left hand, and let the middle strand rest in between.
- Make sure you have a firm grip; this helps keep everything neat and safe.
Once you’ve got your grip, you’re ready to jump into the fun part—braiding! Just remember, practice makes perfect, so keep at it!
Add Hair to the Braid
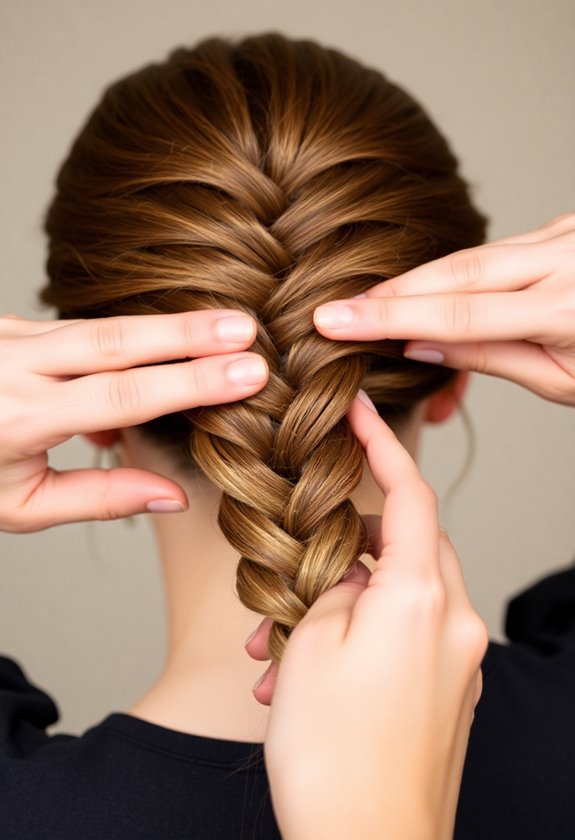
As you plunge into adding hair to your braid, remember that it’s all about keeping things tidy and balanced. Start by picking up a small section of hair from the outer edge of your braid. Gently pull it into the braid, ensuring it blends seamlessly with the existing strands. It’s important to maintain an even tension; too tight can hurt, and too loose might mess up your look. If you’re nervous, practice on a friend first! Just like in filmmaking, it’s all about teamwork and patience. Keep your movements smooth, and soon, you’ll be a pro at this stylish technique! Additionally, consider using pre-looped designs for a quicker and easier styling experience.
Continue Braiding
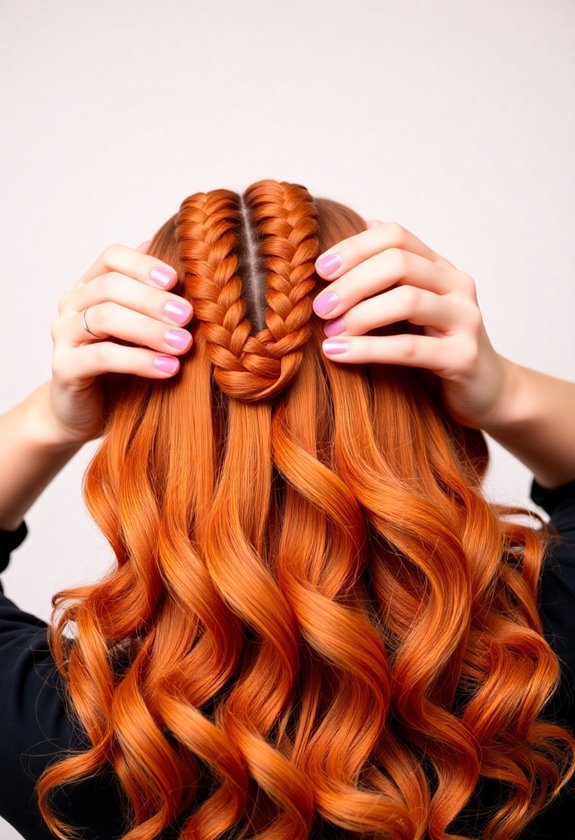
Keep your fingers moving as you continue braiding! Focus on keeping the braid tight but not too tight—comfort is key. As you work, remember to keep your strands even and smooth. It might feel tricky at first, but practice makes perfect!
- Feel the rhythm of your hands as they weave the hair.
- Notice how the braid starts to take shape and look fuller.
- Take a deep breath and enjoy the process, letting your creativity flow. Incorporating protective styling techniques can enhance your overall look and maintain hair health.
If you find yourself getting tangled, don’t panic; just slow down, and you’ll get the hang of it in no time!
Secure the Braid
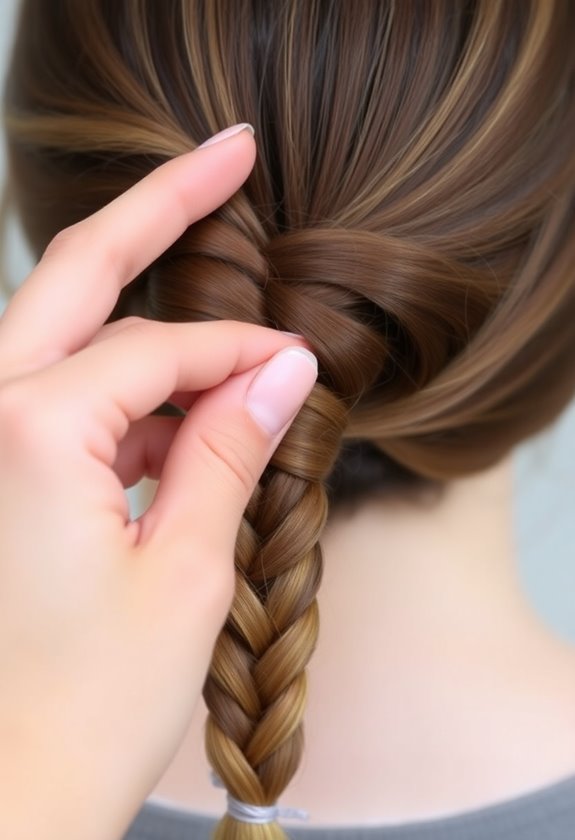
After you’ve crafted your beautiful braid, it’s time to secure it so all your hard work doesn’t unravel! Grab a hair tie that matches your hair color, or even a clear one if you prefer. Gently hold the end of your braid and wrap the hair tie tightly around it, making sure it’s snug but not so tight that it pulls on your scalp. You don’t want any headaches later! If you’re feeling fancy, you can even wrap a small section of hair around the tie to hide it. Trust me, it adds a polished touch to your stunning braid! Additionally, using hair products for edge-free styles can help maintain your look and prevent any damage to your edges.
Repeat on the Other Side
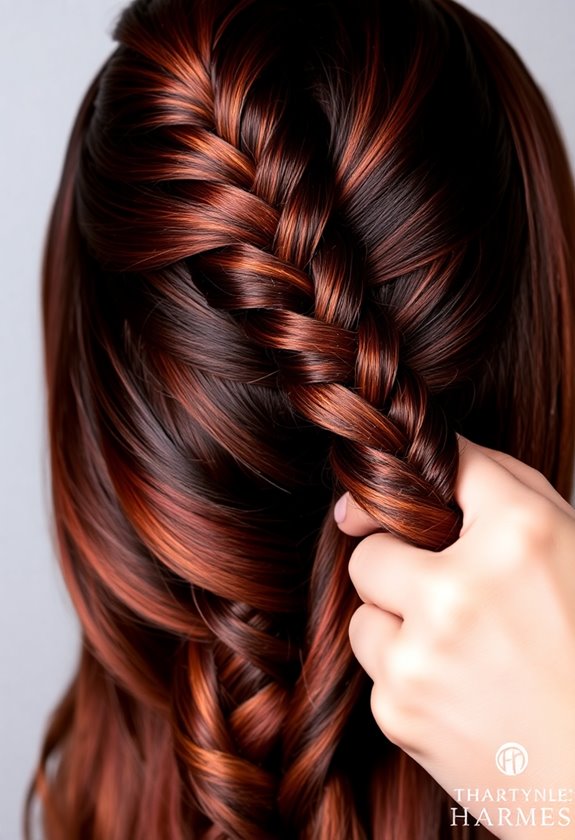
Now that you’ve secured your first braid, it’s time to create the mirror image on the other side. Start by parting your hair just like before, ensuring it’s even. Grab sections of hair, and remember to keep things tight but not too tight—comfort is key! As you weave, focus on the underhand technique for that classic Dutch braid look.
Create a mirror image braid by parting your hair evenly and using the underhand technique for a stunning look.
- Use a good detangler to avoid any snags.
- Make sure you’re sitting in a well-lit area for better visibility.
- Take your time; there’s no rush in creating beautiful braids!
You’ve got this!
Finish and Style
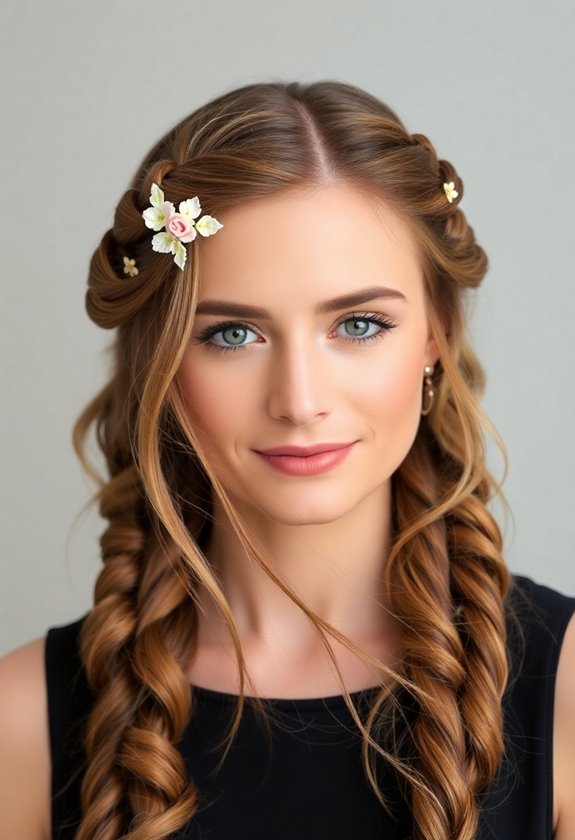
Once you’ve finished braiding, it’s time to add those final touches that’ll make your Dutch braids pop! Start by gently pulling on the edges of the braid to give it that beautiful, fuller look. A little looseness can add charm without sacrificing security. Next, secure the ends with a soft hair tie, making sure it’s not too tight to avoid breakage. If you want, you can spray a light mist of hairspray for extra hold. Finally, tuck in any loose strands with bobby pins, and you’re ready to rock those stylish Dutch braids! Enjoy your fabulous hairdo!
Tips for Perfect Dutch Braids
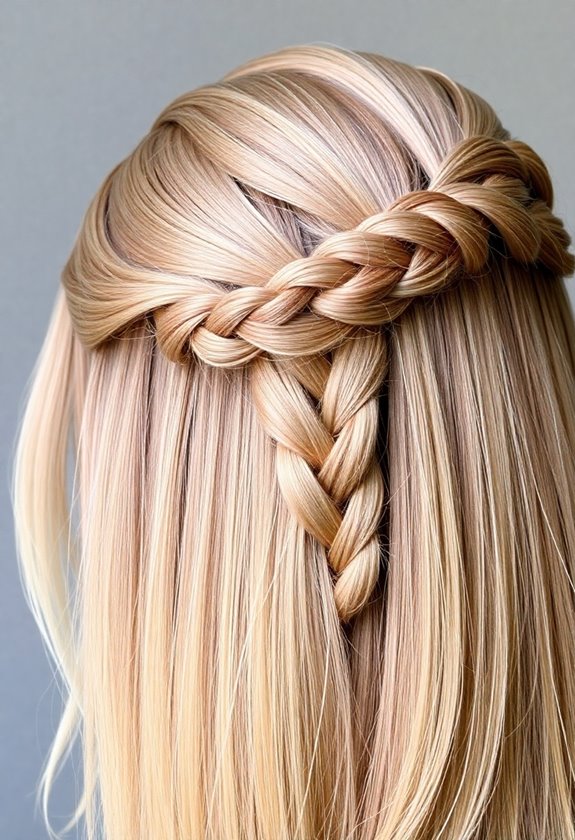
Getting the hang of Dutch braids can feel like a fun puzzle, but with a few handy tips, you’ll be weaving those braids like a pro in no time! First, keep your hair clean and slightly damp for better grip. Second, use a good-quality hair tie to secure your braid without breakage. Finally, don’t rush—take your time to section your hair evenly.
- Practice makes perfect; try braiding on a friend or a doll.
- Use a mirror to check your progress and adjust as needed.
- And remember, a little hairspray helps keep everything in place!
Frequently Asked Questions
How Long Does It Take to Master Dutch Braids?
Mastering Dutch braids can feel like climbing a mountain—challenging but rewarding! It usually takes a few practice sessions to get the hang of it. You might find it takes anywhere from a couple of days to a few weeks, depending on your patience and dedication. Don’t worry if it doesn’t look perfect at first; keep trying! Remember, practice makes progress, and soon you’ll be braiding like a pro. Enjoy the journey!
Can I Do Dutch Braids on Short Hair?
You can totally rock Dutch braids on short hair! It might take a bit more effort to gather all your hair, but it’s definitely doable. Start by sectioning your hair into two parts, then cross the strands under, adding small pieces from the sides as you go. If your hair’s really short, just be patient; practice makes perfect! And hey, even a little messiness can add charm to your look!
Are Dutch Braids Suitable for All Hair Types?
Dutch braids can work for all hair types, but it depends on your hair’s texture and length. If you’ve got fine hair, adding some texturizing spray can help grip the strands together. Curly hair might need some extra care to keep the braids neat. Don’t worry, even if your hair’s short, you can still rock these braids! Just remember, practice makes perfect, and it’s all about having fun while styling!
How Do I Prevent Hair Breakage While Braiding?
To prevent hair breakage while braiding, start by using a gentle brush to detangle your hair first. It’s like warming up before a race! You should also use a leave-in conditioner or oil for extra moisture, keeping those strands happy. When you braid, don’t pull too tight—think of it like a gentle hug, not a chokehold! Finally, take breaks between styles to give your hair a little love. Your mane will thank you!
Can Dutch Braids Be Worn for Formal Occasions?
Absolutely, you can rock Dutch braids at formal events! Think of them as the elegant cousin of regular braids, adding a chic twist to your look. They keep your hair neat and stylish, so you won’t have to worry about it falling apart during the evening. Pair them with pretty accessories or a sparkly dress, and you’re good to go! Just remember, practice makes perfect, so give yourself some time to master them!


