Are you tired of the same old hairstyle? Are you looking for a way to spice up your look and add some flair to your everyday routine? Well, look no further!
In this braided bun tutorial, we will show you how to create that perfect braided bun hairstyle that will make heads turn. It’s like creating a work of art on top of your head, with each strand carefully woven together to create a stunning masterpiece.
Don’t worry, though – creating this braided hairstyle is not as difficult as it may seem. We will guide you through every step of the process, using simple and easy-to-follow instructions.
So get ready to unleash your inner hair stylist and transform yourself into a true fashionista. With our help, you’ll be able to rock that braided bun like a pro in no time!
Preparing Your Hair for the Braided Bun
Start by brushing out any tangles or knots using a wide-toothed comb or paddle brush. This will make the braiding process much easier and prevent unnecessary breakage.
Next, apply a heat protectant spray to shield your strands from any potential damage caused by styling tools. If you’re planning on using hot tools like curling irons or straighteners to add some texture before braiding, this step is essential for maintaining healthy-looking hair.
To create a lasting hold for your braided bun hairstyle, divide your hair into sections using clips, braid rings, or hair elastics. This will help keep everything organized as you work through each section. Make sure to secure any loose hairs with bobby pins so they don’t interfere with the final look.
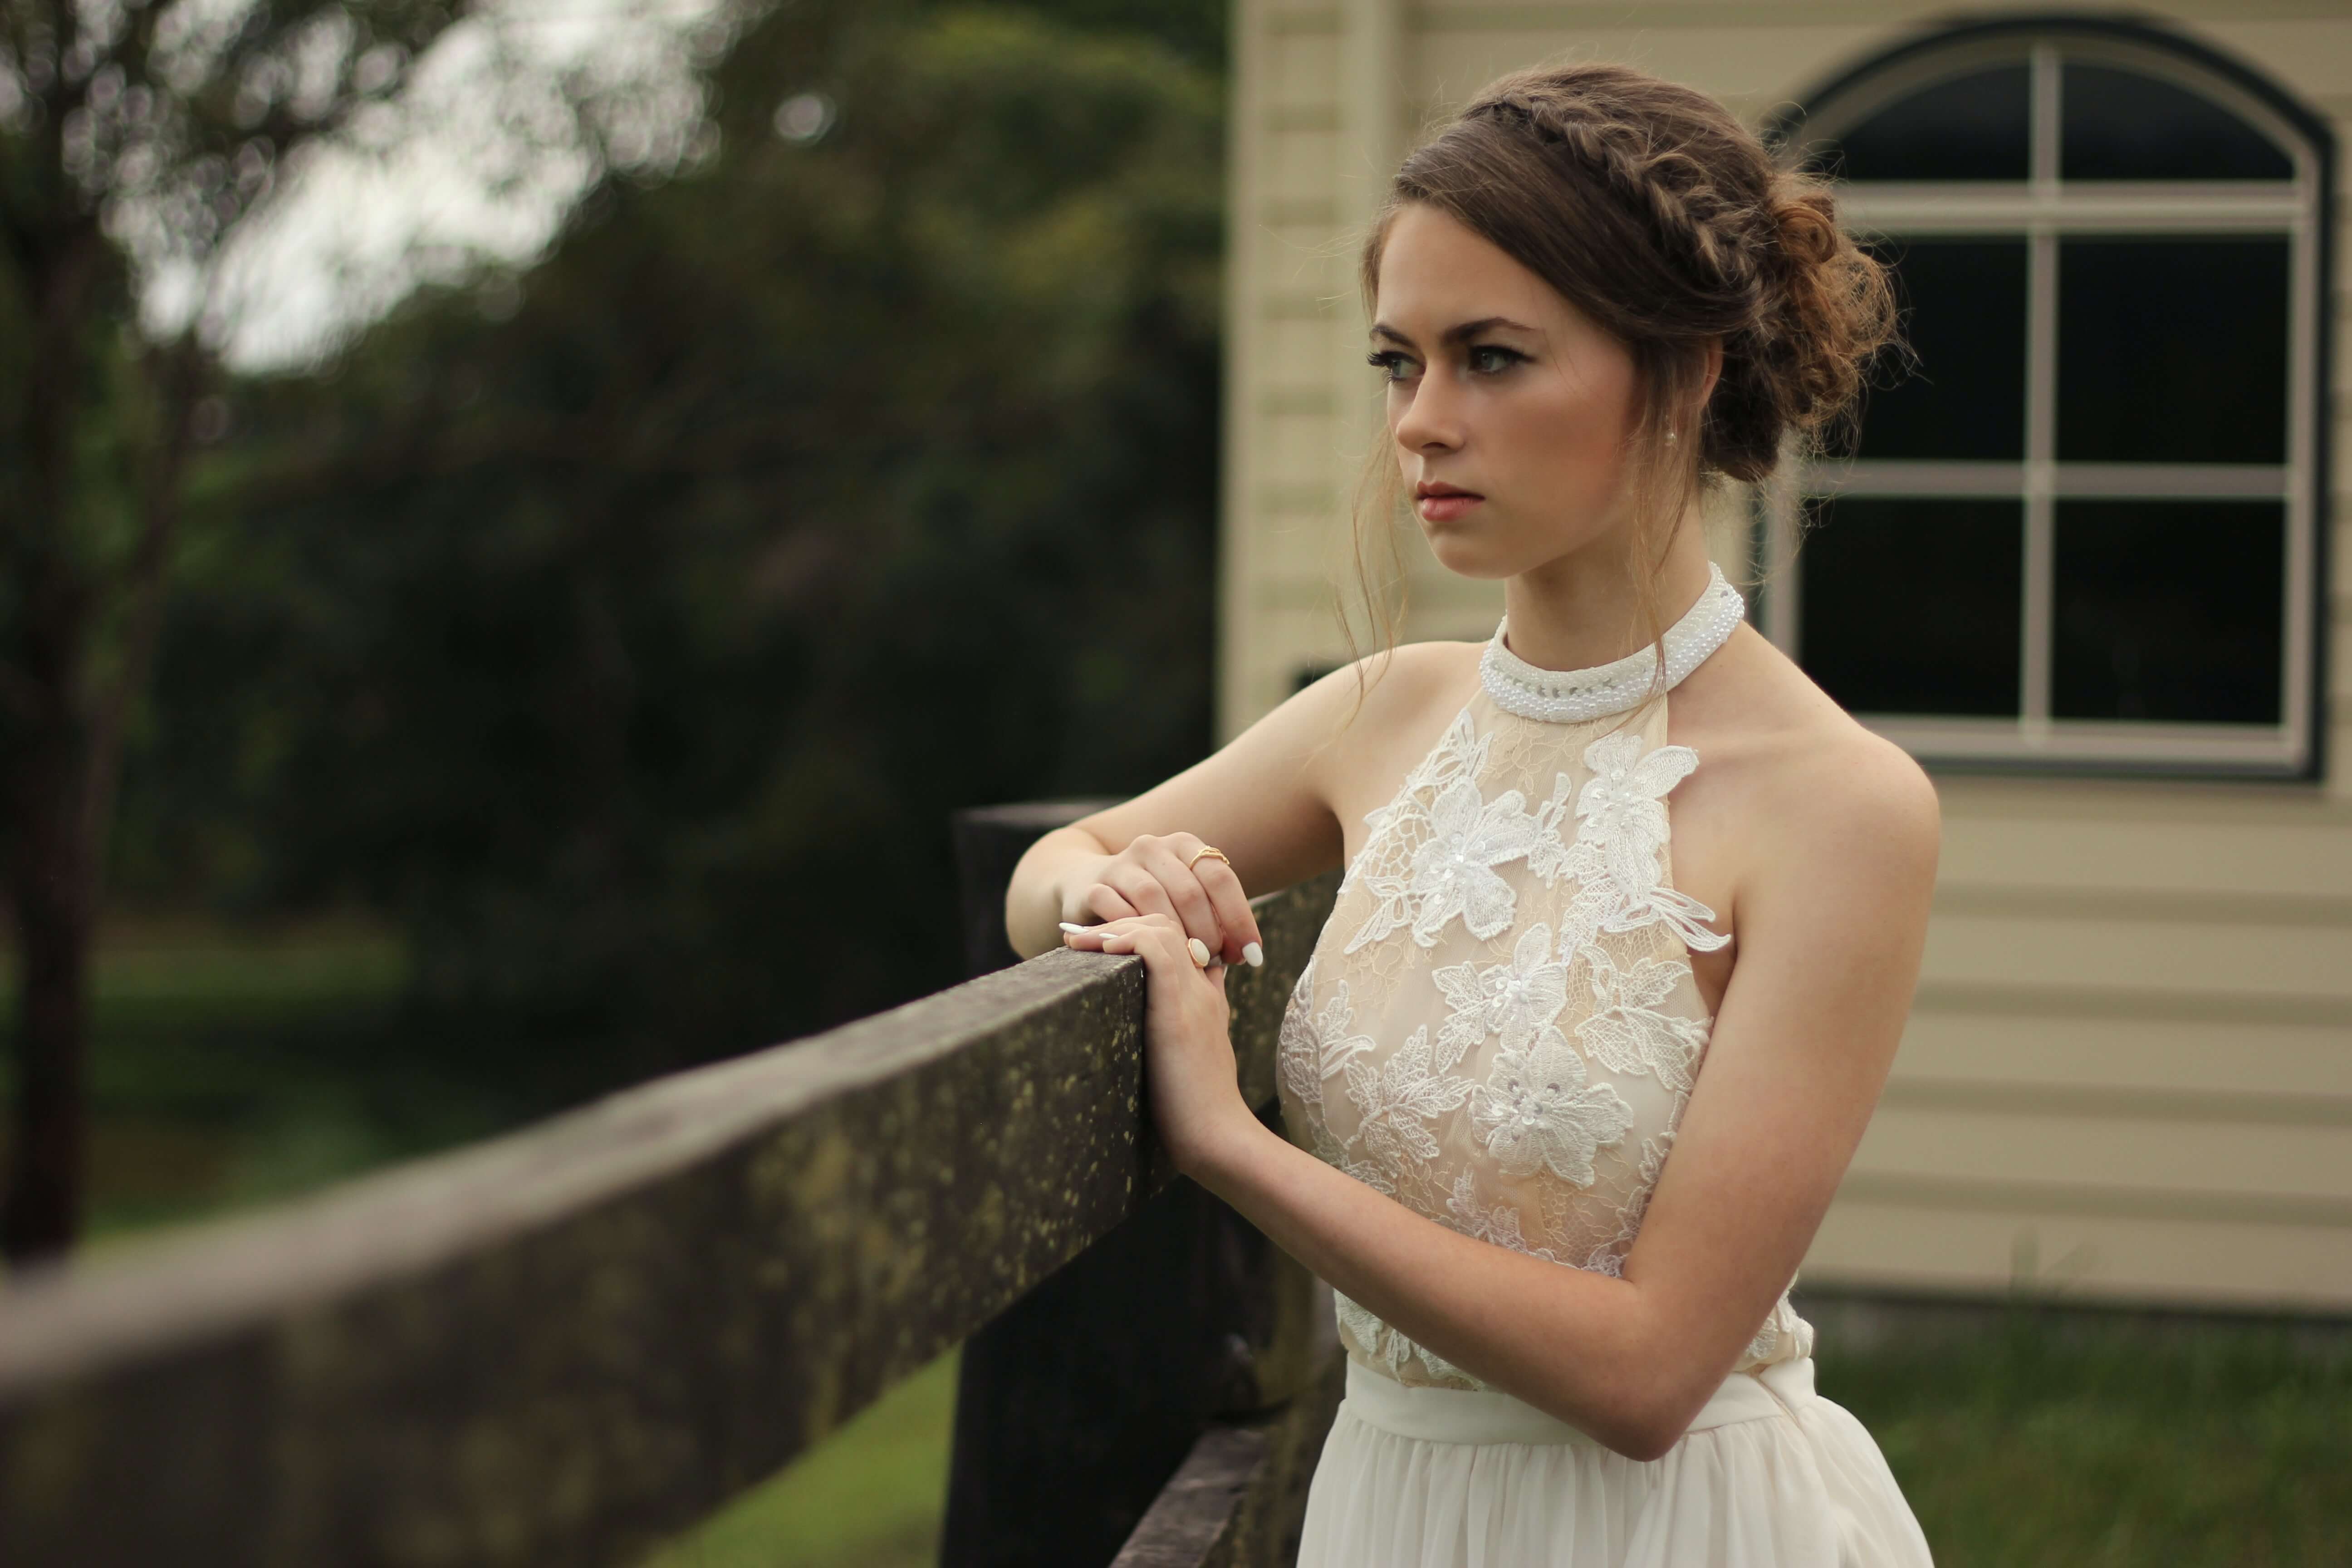
If you want to add an extra touch of elegance or flair, consider incorporating some stylish hair accessories such as decorative pins or flowers. These can elevate the overall look and make it perfect for a formal occasion like being a wedding guest or attending another special event.
Now that your hair is prepped and protected, let’s move on to sectioning and parting your hair in order to create that flawless braided bun hairstyle.

Sectioning and Parting Your Hair
First, envision your hair as a canvas waiting to be divided into sections, like an artist’s palette. Sectioning and parting your hair is crucial for creating that perfect braided bun hairstyle. By dividing your hair strategically, you will ensure that each section gets the attention it needs while maintaining a neat and organized look.
To begin, gather all of your hair at the crown of your head and secure it with a hair tie. This will create a high ponytail as the foundation for your braided updo bun.
Next, divide the ponytail into five equal sections using small hair elastics or clips.
Here is an unordered list of essential steps to follow when sectioning and parting your hair:
- Start by dividing the ponytail in half vertically.
- Then, divide each half horizontally to create four equal sections.
- Finally, take one of these sections and twist it slightly before securing it with another elastic band.
By following this methodical approach, you will have properly sectioned and parted your hair for the braided bun hairstyle. Now you can move on to creating the braids that will give your bun its unique texture and style.
Creating the Braids
To transition from creating the braids to securing them into a bun, follow these steps:
- Gather all of your braids together at the back of your head.
- Begin twisting the braids together, starting from the base of the braids.
- Continue twisting the braids upward, forming a ballerina bun shape.
- As you twist, keep the tension tight to ensure a secure bun.
- Once you have twisted all of the braids into a bun shape, use bobby pins or elastic bands to secure them in place.
- Place the pins or bands strategically to hide them within the bun.
- Adjust the bun as needed to create your desired shape and volume.
- Use hairspray or other styling products to set the bun and keep it in place throughout the day.
By following these steps, you will be able to transform your braids into a stunning braided bun hairstyle that will stay put and make a lasting impression.
Securing the Braids into a Bun
Once you’ve crafted your beautiful braids, it’s time to lock them in place with a stylish bun. Securing the braids into a bun is an essential step in creating that perfect braided bun hairstyle. Follow these simple steps to ensure your hairstyle stays put throughout the day.
- Start by gathering all your braids together at the back of your head. Use a hair elastic to secure them into a ponytail.
- Twist the ponytail around itself to create a coil shape. Make sure to tuck any loose ends underneath for a neat look.
- Secure the coil with bobby pins, inserting them from different angles to ensure maximum hold.
- Once the bun feels secure, gently tug on the sides of it to add volume and create a fuller look.
By securing your braids into a bun, you not only keep your hairstyle intact but also prevent any accidents or discomfort caused by loose hair. With this step complete, you can now move on to adding accessories for extra style in the next section of this article.
Next, we will explore how adding accessories can elevate your braided bun hairstyle even further.

Adding Accessories for Extra Style
Enhance your stunning braids by adding stylish accessories that will take your braided bun hairstyle to the next level. Accessories not only add extra style to your look, but they also provide an elegant finish that can elevate any outfit, whether it’s a black dress or a comfy dress for a casual day out.
When choosing accessories for your braided bun, you can experiment with different options to find the perfect creative twist. Start by selecting hairpins or clips that match the color and style of your braids. You can opt for delicate flowers, sparkly gems, or even unique charms to add some personality to your updo.
For an elegant wedding updo, consider adding a decorative headband that complements both your hairstyle and dress. This accessory will give you a sophisticated and polished look that is sure to impress. Alternatively, try wrapping a thin ribbon around the base of your bun for a chic and feminine touch.
As you explore different accessories, remember to prioritize safety. Ensure that any pins or clips used are secure and won’t cause discomfort throughout the day. Once you’ve added those finishing touches and polished the look with accessories, you’ll be ready to move on to the subsequent section about finishing touches without missing a beat.
Finishing Touches and Polishing the Look
Now let’s put the final touches on your fabulous braided bun, giving it that extra sparkle and ensuring you look absolutely stunning! The finishes you choose for your elegant hairstyle can make all the difference.
For a versatile updo, consider adding a twisted strand or two around the base of your bun. This will create a beautiful texture and add dimension to your look. If you want to incorporate some loose curls into your style, use a curling iron before creating the bun. This will give your hair a soft and romantic feel.
To make sure your bun stays in place throughout the day, try using bun makers or hairpins to secure it firmly. You can also experiment with different braids to enhance the overall look. A rope braid wrapped around the base of your bun will give it an intricate detail, while a center braid running down the back will add elegance and sophistication. Don’t forget about classic braids like the three-strand braid or fishtail braid – these are always great options too!
With these finishing touches, your braided bun is ready to turn heads wherever you go! But before we move on to tips for long-lasting hold, let’s ensure everything is secure and polished for that perfect finish.
Tips for Long-lasting Hold
To ensure your braided bun stays intact throughout the day, it’s essential to follow these tips for long-lasting hold.
Start by using bobby pins strategically placed throughout your hairstyle. These small but mighty tools will help secure every section of your braided bun, keeping it in place all day long. Make sure to insert them in a crisscross pattern for added stability.
Another tip is to create a strong foundation for your braided bun by properly securing your initial ponytail. Use an elastic band that matches your hair color and wrap it tightly around the base of the ponytail. This will prevent any loose strands from ruining your perfect hairstyle.
Additionally, applying hairspray before and after styling can provide extra hold and keep flyaways at bay. Look for a hairspray that offers both flexibility and strength to maintain your braided bun while still allowing natural movement.
By following these tips, you can achieve a long-lasting hold for your braided bun hairstyle. Now let’s move on to variations and customizations for different looks, where we’ll explore exciting ways to switch up this classic style with some creative twists!
Variations and Customizations for Different Looks
Explore the countless possibilities of transforming your braided bun into unique and stunning hairstyles that will make you stand out from the crowd. With a little creativity, you can customize your braided bun to suit any occasion or personal style.
Start by experimenting with different variations of the basic braided bun hairstyle. You can add twists, loops, or even fishtail braids to create intricate and eye-catching designs. Secure loose ends with bobby pins for added hold.
To achieve a fuller look, try using hair extensions to add volume and length to your braided bun. These extensions come in various colors and textures, allowing you to create a customized look that matches your natural hair perfectly. Don’t forget to use an elastic ponytail holder to keep everything in place.
If you have advanced braiding skills, consider incorporating trendy patterns into your braided bun hairstyle. From zigzags to chevron designs, there are endless options for creating a unique and stylish look.
By adding variations and customizations to your braided bun, you can effortlessly switch up your style and keep things interesting. Now that you know how to create different looks with your braided bun hairstyle, it’s time to learn about maintenance and care for long-lasting results without compromising safety.
Transitioning into the next section: Now that you’ve mastered the art of customization, let’s dive into some essential tips for maintaining and caring for your beautiful braided bun.
Maintenance and Care for your Braided Bun
Ensure that your braided bun remains flawless by implementing proper maintenance and care techniques for long-lasting results without compromising the health of your hair.
Taking care of your braided bun is essential to keep it looking stylish and healthy. Start by gently detangling your hair using a wide-toothed comb or your fingers before styling it into the braided bun. This will prevent any breakage or damage to your precious locks.
Once you have created the perfect braided bun, secure it in place with bobby pins. Make sure to use high-quality pins that won’t snag or pull on your hair. To make your braided bun look neat and polished, divide it into sections and secure each section separately with bobby pins.
To maintain the elegance of your braided bun throughout the day, periodically check if any pieces have come loose or need readjusting. This is especially important if you are out in the summer heat, as sweat can cause strands to slip out of place.
Lastly, remember that proper care extends beyond just styling. Avoid using excessive heat on your hair and moisturize regularly to prevent dryness and breakage.
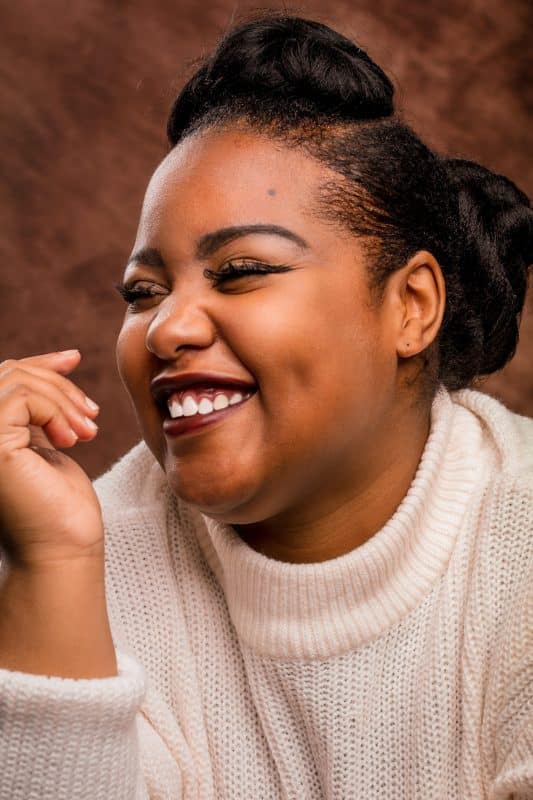
With these maintenance and care tips, you can confidently rock an elegant twist like a black girl hairstyle while keeping your hair healthy and beautiful all day long!
Frequently Asked Questions
How long does it typically take to create a braided bun hairstyle?
Typically, it takes around 15-30 minutes to create a braided bun hairstyle. However, the time may vary depending on your hair length and skill level. Remember, take your time and be careful not to tug or pull too hard to avoid any damage or discomfort.
Can I create a braided bun with short hair?
Yes, you can create a beautiful braided bun even with short hair! Secure your strands with bobby pins and use a small elastic band for extra hold. Enjoy your stylish and secure hairstyle!
What type of hair products should I use to prepare my hair for a braided bun?
To prepare your hair for a braided bun, use a gentle shampoo and conditioner to keep it clean and healthy. Apply a heat protectant before styling, and use a lightweight hair gel or mousse to add texture and hold.
Are there any specific tools or accessories I need to create a braided bun?
To create a braided bun, you’ll need a few tools and accessories. Grab bobby pins to secure the bun, a comb to detangle your hair, and an elastic band to hold the braids together.
How do I prevent my braided bun from unraveling throughout the day?
To prevent your braided bun from unraveling, secure it with bobby pins or hair elastics. Spritz some hairspray on the bun for extra hold. Avoid excessive movement or pulling on the bun to keep it intact throughout the day.
Conclusion
Congratulations! You’ve now mastered the art of creating the perfect braided bun hairstyle. Your hair will be so fabulous that it’ll turn heads wherever you go. People will think you have a personal hairstylist on call 24/7 because your bun is just that flawless.
So, get ready to rock this stunning look and embrace all the compliments that are about to come your way. You’re officially a braided bun queen!